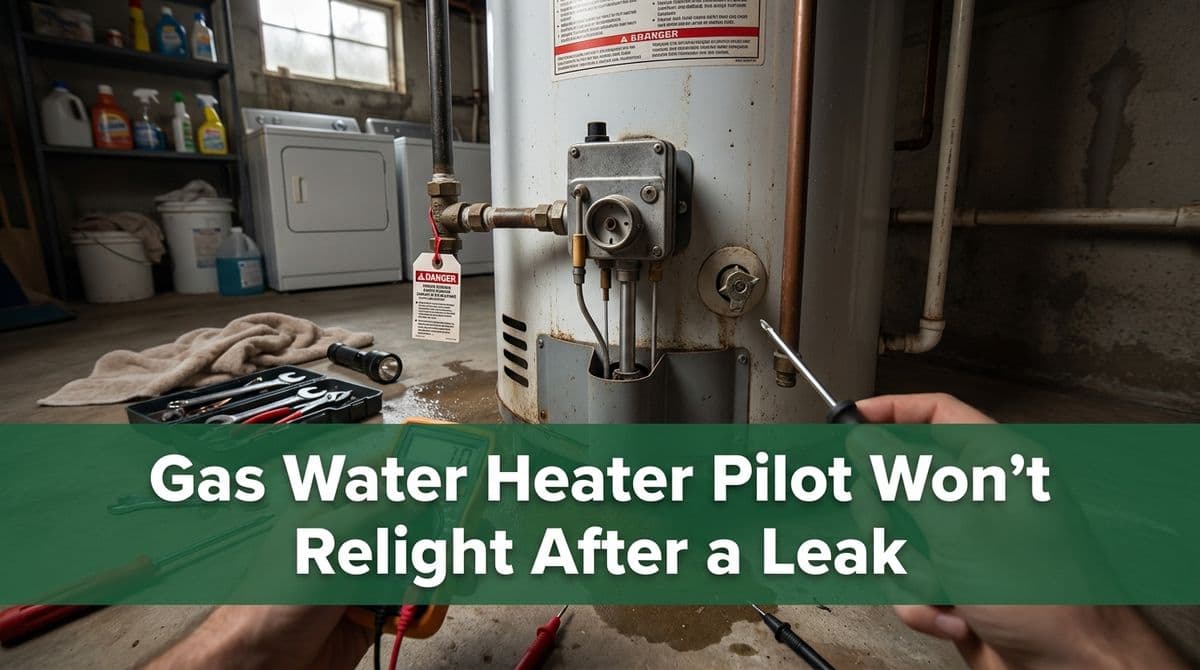
Gas Water Heater Pilot Won’t Relight After a Leak
Pilot light won’t relight after a leak? Learn common causes, safe DIY checks, and when to call your gas company versus a plumber for your gas water heater.
When a Leak Knocks Out Your Pilot Light
We recently got a call from a customer — let’s call him Frank — who was pretty frustrated with his gas water heater. He’d removed a pipe on top of the heater, it leaked water everywhere, and after that the little red light on the gas control wouldn’t come back on. The water heater was tucked under the house, hard to reach, and he just couldn’t get the pilot to relight.
Frank told us he’d lit this pilot before with a barbecue lighter through the little access door, but this time nothing was working. He was also worried the whole thing had gotten “too soaked” when the pipe broke and water spilled through the unit.
We hear some version of Frank’s situation all the time. So we’ll walk through why a gas water heater pilot light often won’t relight after a leak, what you can safely try on your own, when to call a plumber, and when it’s actually better to call the gas company first.
Why a Leak Can Keep Your Pilot from Relighting
When a pipe breaks or a fitting leaks near the top of the water heater, water doesn’t just run down the outside. It can get into sensitive components down below, and that’s usually when the pilot light trouble starts.
Here are some common reasons your pilot won’t relight after a leak:
- Wet burner or pilot assembly – If water drips down onto the burner, pilot tube, or igniter, it can prevent gas from burning properly until everything fully dries out.
- Soaked thermocouple or thermopile – These are the safety sensors that “prove” there’s a flame. If they’re wet, corroded, or damaged, they can’t send the right signal, so the gas valve refuses to stay open.
- Moisture inside the gas control valve – If water gets into the gas control (the box with the red light and temperature dial), internal electronics can fail, or the valve can stick in a locked-out position.
- Debris or rust from the leak – A leak can wash rust and sediment into the burner area, partially blocking the pilot or burner ports.
- Safety lockout after repeated tries – After multiple failed lighting attempts, many modern controls go into a lockout mode to protect you from a gas buildup.
From the outside, it all just looks like “the red light won’t come back on,” but inside there can be several different issues that need proper diagnosis.
Safety First: What to Do Before You Touch Anything
Before you crawl under the house like Frank or open that little access door, it’s important to think safety first. Gas and confined spaces don’t mix well if something goes wrong.
We always recommend:
- Check for gas smell – If you smell rotten eggs or suspect a gas leak, do not try to relight the pilot. Leave the area and call your gas company’s emergency line right away.
- Make sure the area is dry and stable – If the space under the house is muddy, wet, or cramped, it may not be safe for you to squeeze in, especially if mobility is an issue.
- Turn off power if it’s a power-vent unit – Some gas heaters are plugged into an outlet. Turn off the power before working around them.
- Have good lighting – Using a phone flashlight like Frank mentioned is common, but keep both hands free if possible and avoid open flames until you know there’s no gas leak.
If anything feels unsafe or beyond your comfort level, that’s the time to stop and call a professional.
Simple, Safe Checks You Can Try Yourself
There are a few basic things most homeowners can safely check before spending money on a service call — as long as there’s no gas smell and access is reasonably safe.
1. Give It Time to Dry Out
If the heater was recently soaked like Frank’s, the internal parts may simply need time to dry. You can:
- Shut off the gas control to the OFF position.
- Let the unit sit for several hours, or overnight, to allow moisture to evaporate.
- Make sure the area around the burner access door is visibly dry.
If things are still dripping or there’s visible water inside the burner compartment, it’s time for a plumber instead of more DIY.
2. Follow the Lighting Instructions Exactly
Every gas water heater has a lighting instruction sticker on the side. Even if you’ve lit it before, always:
- Turn the gas control to OFF and wait at least 5 minutes to clear any gas.
- Turn the control to PILOT, press and hold the button, and use the built-in igniter or a long grill lighter through the access opening (if the manufacturer allows).
- Continue to hold the button for the recommended time (often 30–60 seconds) after the pilot lights, then release slowly.
If the pilot lights but goes out as soon as you release the button, that points toward a failing thermocouple/thermopile or a problem in the gas control.
3. Check for Obvious Damage
If you can safely see inside the burner compartment:
- Look for rust flakes, debris, or signs of heavy corrosion on the burner and pilot area.
- See if any wires or small tubes look bent, broken, or burned.
- Make sure the burner door is properly in place and sealed when you’re done looking.
We don’t recommend poking around or trying to bend or clean anything inside without the right training — just a visual look can give you clues that it’s time to call in help.
When to Call the Gas Company vs. a Plumber
On Frank’s call, we explained that the gas company will often come out and relight a pilot for free. That can save you a service fee if the problem is truly just a blown-out pilot.
Here’s how we usually break it down:
Call the Gas Company When:
- You simply need the pilot relit and there hasn’t been a major leak or flooding inside the heater.
- You suspect a gas leak (you smell gas, hear hissing, or see a damaged gas line).
- The gas to the house has been shut off and needs to be turned back on and checked.
Call a Plumber When:
- There has been a water leak on or around the water heater, like a broken top pipe or flooded area.
- The pilot still won’t stay lit after the gas company tries to light it.
- You see corrosion, burned wiring, or obvious damage to the gas control or burner assembly.
- The heater is hard to access (under the house, in a crawlspace) and you’re not physically comfortable getting to it.
- There are repeated failures or error codes on a newer electronic control.
In Frank’s case, because there had been a significant leak and the unit was in a tight crawlspace, it made sense for us to come out, inspect the system, and make sure there was no hidden damage before forcing it to relight.
Signs It Might Be Time to Replace the Water Heater
Frank’s heater was around six or seven years old and had been working well, so we were optimistic about repairing it. But sometimes a persistent pilot problem after a leak is a sign the heater is nearing the end of its life.
You may want to consider replacement if:
- Your gas water heater is 10–12 years old or older.
- There are multiple rust spots, leaks, or corrosion on the tank or connections.
- You’ve had repeated pilot or burner issues in the last year or two.
- The gas control valve or burner assembly has already been replaced once and is failing again.
- You’re running out of hot water faster than you used to, even when it’s working.
At a certain point, putting more money into parts and service on an older, rusted tank becomes less cost-effective than installing a new, efficient unit.
Maintenance Tips to Prevent Leaks and Pilot Problems
While you can’t prevent every leak, there are a few simple habits that can greatly reduce your chances of ending up in Frank’s situation:
- Inspect visible pipes annually – Look for corrosion, loose fittings, or damp insulation on pipes connected to the top of the heater.
- Test the T&P valve once a year – Carefully lift the lever on the temperature and pressure relief valve (with a bucket under the discharge pipe) to ensure it releases and reseats properly.
- Flush the tank – Draining a few gallons from the drain valve once or twice a year can help reduce sediment buildup that stresses the tank.
- Keep the area dry and clear – Avoid storing items right up against the heater; leave room for air flow and keep combustibles away.
- Schedule a professional checkup – A periodic inspection lets us catch small leaks, weak thermocouples, and aging controls before they fail.
Not Sure What’s Going On? We Can Help.
If your water heater leaked and now the pilot light won’t cooperate, you’re not alone — we walk homeowners through this situation every week. We’re always happy to talk you through what the gas company can do for free, and where it makes more sense for us to come out, inspect, and repair.
Whether your heater is in a tight crawlspace like Frank’s or sitting in a garage, our goal is the same: restore your hot water safely, and help you decide whether repair or replacement is the smartest move for your home and budget.