Why Your Water Pressure Regulator Fails (and When DIY Backfires)
Learn why water pressure regulators fail, the risks of 80–90+ psi on older plumbing, and when DIY repairs cross the line and it’s time to call a plumber.
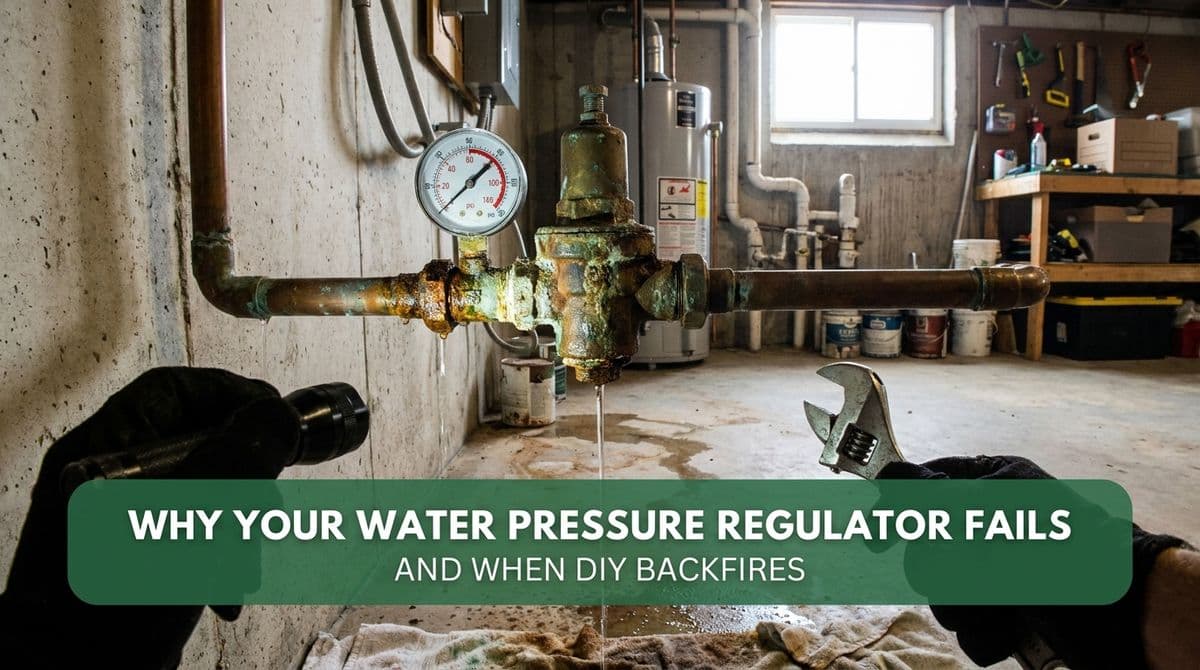
Why Your Water Pressure Regulator Fails (and When DIY Can Backfire)
We recently got a call from a homeowner — let’s call her Linda — who had her head down in the crawl space, a borrowed pressure gauge in her hand, and zero water pressure in the house.
Linda’s place has a big old sequoia tree out front. Over the years, those roots have broken the water line near the meter several times. This last repair was done in a hurry, and the line never got properly flushed. The result? Dirt and little rocks packed into her pressure-reducing valve (PRV), no water at the fixtures, and a DIY repair that left her with 95 psi and a cracked ball valve by the time she called us.
Her situation is common enough that we thought it would be helpful to walk through why water pressure regulators fail, what warning signs to watch for, and when it’s smart to put the wrenches down and call a plumber.
How a Pressure-Reducing Valve (PRV) Actually Works
Your city water pressure is often much higher than your home’s plumbing can safely handle. A typical PRV sits just after the meter on your side of the line and acts like a traffic cop for water pressure.
Inside the regulator there’s a spring and diaphragm assembly. High-pressure water comes in from the street, pushes against that diaphragm, and the spring controls how much the internal valve opens. By tightening or loosening the adjustment screw on top, you change the spring tension and set the “target” pressure inside the house (usually around 50–65 psi).
When everything is clean and intact, that valve opens and closes smoothly, keeping pressure steady. When debris, scale, or damage interferes, the regulator can get stuck partially open (high pressure) or be choked off (low or no pressure).
Common Symptoms of a Failing Pressure Regulator
With Linda, we walked through a few simple checks over the phone. These are the big red flags we look for:
1. High Pressure Readings (Anything Over ~75 psi)
Linda had borrowed a gauge from the local hardware store, screwed it onto a hose bib, and saw about 95 psi at first. After she and her husband adjusted the regulator, they still couldn’t get the pressure below roughly 85 psi.
As we told her on the phone, anything over about 75 psi is considered a failed regulator. That doesn’t always mean you’ll see leaks immediately, but it’s putting a lot of stress on every part of your plumbing system.
2. You Can’t Adjust the Pressure Down
If you turn the adjustment screw and the pressure doesn’t respond or won’t come down below a certain point (like Linda’s stuck around 85 psi), the internal spring or diaphragm is likely damaged or jammed with debris.
That’s not something that’s going to “work itself out” over time. Once it won’t adjust, the regulator is at the end of its life or too fouled to be reliable.
3. Sudden Loss of Pressure After Line Repairs
Another classic symptom is what started Linda’s whole adventure: debris blocking the regulator. Any time there’s digging or repairs near your water line or meter, loose dirt, sand, and small rocks can get into the line if it’s not flushed thoroughly before being buttoned up.
Those particles travel straight to the PRV and can pack into the mechanism, choking off flow. You might see:
- Very low pressure at all fixtures
- No water to irrigation or hose bibs
- Intermittent flow that comes and goes
Why High Pressure (80–90+ psi) Is So Risky for Older Plumbing
Linda mentioned some of her plumbing dated back to the 1980s. That’s another detail we pay attention to. Running 80–90+ psi on older pipes and fittings is asking for trouble.
Here’s what high pressure does over time:
- Weakens solder joints at elbows and tees, especially around the meter and water heater
- Stresses old shutoff valves, making them more likely to leak or snap when operated
- Shortens the life of water heaters, washing machines, and dishwashers
- Can cause banging pipes (water hammer) and noisy plumbing
On a newer system with modern materials, high pressure is still not ideal, but on older copper and tired valves, it’s often the last straw that turns a small problem into a flood.
DIY Fixes: What’s Reasonable for a Homeowner?
We’re all for homeowners doing some basic checks before calling us out, as long as safety comes first. Here are a few reasonable DIY steps:
- Use a pressure gauge on an outdoor hose bib to see your actual pressure.
- Locate your PRV (usually near the meter or main shutoff) and note the model.
- Make small adjustments to the regulator screw while watching the gauge, if everything is in good shape and there are no signs of corrosion or damage.
- Visually check for leaks around the regulator, meter, and nearby joints.
Where things get risky is what happened with Linda: older piping, lots of wrenching, and disassembling valves and soldered joints that have been undisturbed for decades. That’s when a quick DIY can turn into a cracked ball valve or broken solder joint in a hurry.
When to Stop DIY and Call a Plumber
We wound up scheduling Linda for a service riser rebuild with a new regulator and ball valve. That’s often the safest, most cost-effective route in situations like hers. In general, you should bring in a pro if:
- Your pressure is above 75 psi and won’t adjust down.
- You’ve had recent line repairs and now have no or very low pressure.
- The piping near the meter is old, corroded, or moving when you wrench on it.
- You see leaks or hairline cracks on valves or fittings you’ve been working on.
- You’re not comfortable soldering or re-piping if something breaks.
When we rebuild a service riser, we typically:
- Shut down and safely depressurize the system
- Remove the old regulator, valves, and any compromised fittings
- Install a new PRV and main shutoff ball valve
- Re-solder or re-pipe joints near the meter to modern standards
- Flush the line, set the regulator, and verify pressure at multiple fixtures
That way you’re not just slapping a new part onto a weak foundation — you’re starting fresh with a solid, code-compliant setup that should last for many years.
Protecting Your Home from Future Pressure Problems
To wrap up, here are a few simple habits that help prevent the kind of headache Linda went through:
- Check your pressure annually with a gauge; keep it in the 50–65 psi range.
- After any underground repair or root-related issue, have the line flushed and the regulator inspected.
- If your PRV is more than 10–15 years old, budget for replacement rather than endless tinkering.
- Address big trees near water lines proactively; roots and plumbing rarely make good long-term neighbors.
If you’re seeing high pressure, no pressure, or a regulator that just won’t cooperate, it’s worth having us take a look before a small problem becomes a major leak.